My Daughter, Anika, has been talking about having an 80’s themed birthday party for over a year. I’m not quite sure where her sudden love for all things the ’80s came to be. I suspect it had something to do with her watching classic TV shows on Netflix. I’m also sure that Stranger Things didn’t hurt.
None-the-less, while we talked about hosting an 80’s party for her 15th birthday she decided to hold off because we wouldn’t have enough time to make it as fabulous as she wanted, so we opted for a backyard movie glamping party instead.
Fast forward to this year and she knew exactly what she wanted to her sweet sixteen. So, for the past couple of months, we worked on ways to create an epic sweet sixteen party without completely breaking the bank.
So, being the planner that I am I sat down and created a timeline. Then I began brainstorming ideas for locations, food, decorations, etc.
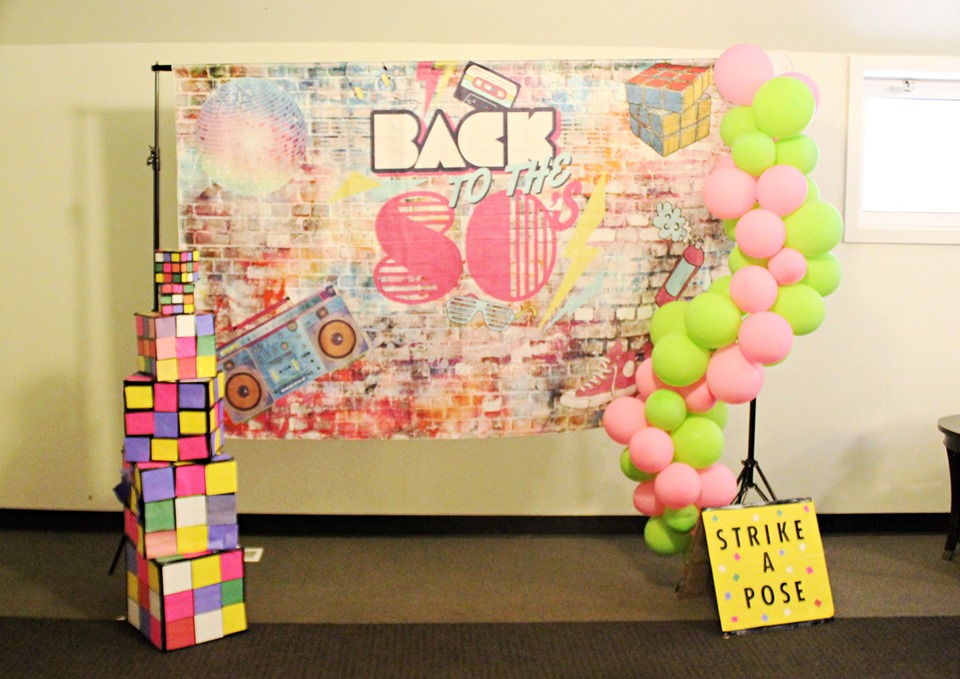
We settled on the idea of keeping it local in our small town. We reserved the upstairs of our town’s community center. It has a fun a-frame ceiling wood-paneled gigantic room with a stage and plenty of tables and chairs. The only catch – we couldn’t use tape or adhesives on any of the walls. So, we’d have to get creative on the decorating. I was up for the challenge though!
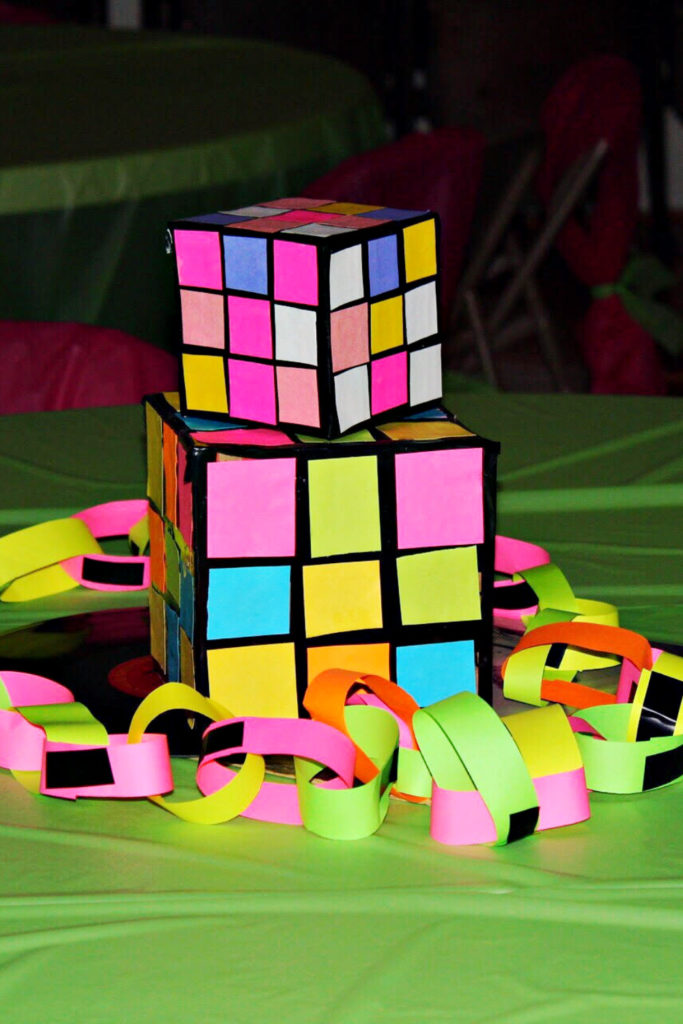
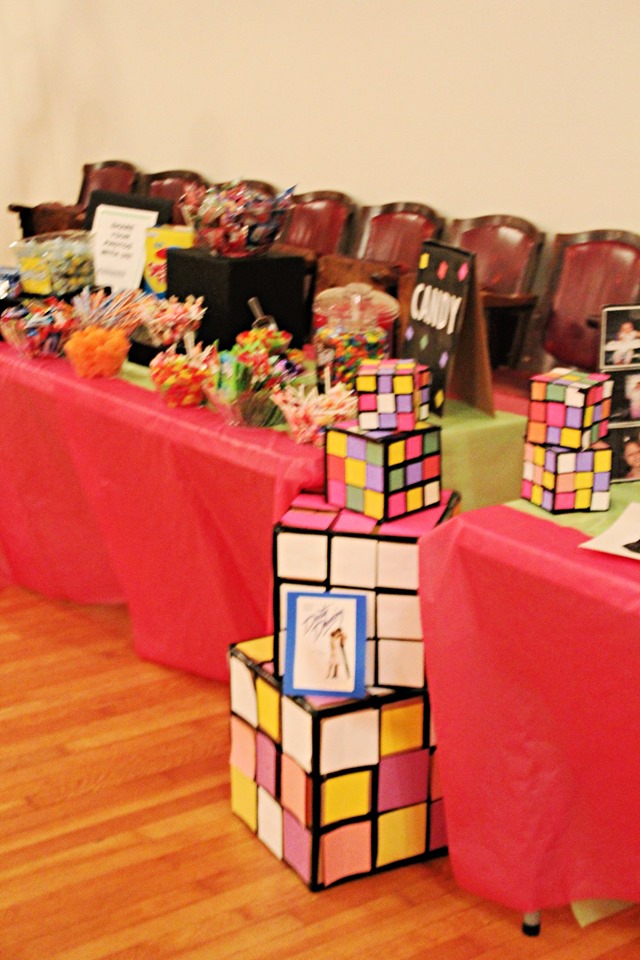
One cool classic thing about the ’80s is all of the neon colors – and Rubik cubes. I searched online for large Rubik cube decor, thinking they would be a great decoration that could fill up some empty spaces. I didn’t find much and what I found was not cheap. So, I set out to DIY them myself.
I knew I needed perfectly square boxes, which aren’t that easy to come by if you’re just upcycling what you can find, so I decided I would just collect all of the cardboard I could get my hands on and then would cut squares out myself and figure out how to adhere them together.
*Tip* Cutting the boxes with a box cutter is MUCH easier than scissors.*
With a bit of trial and error (at first, I attempted to hot glue the sides which didn’t work as smoothly as I thought) I figured out the easiest way to make them – with black electrical tape. It’s flexible and holds them together well. It also works well for creating the black background of the Rubik cubes, which was another piece of the trial and error puzzle. At first, I thought I’d paint all of the sides black, then add the color blocks, but the tape takes so much less time to complete.
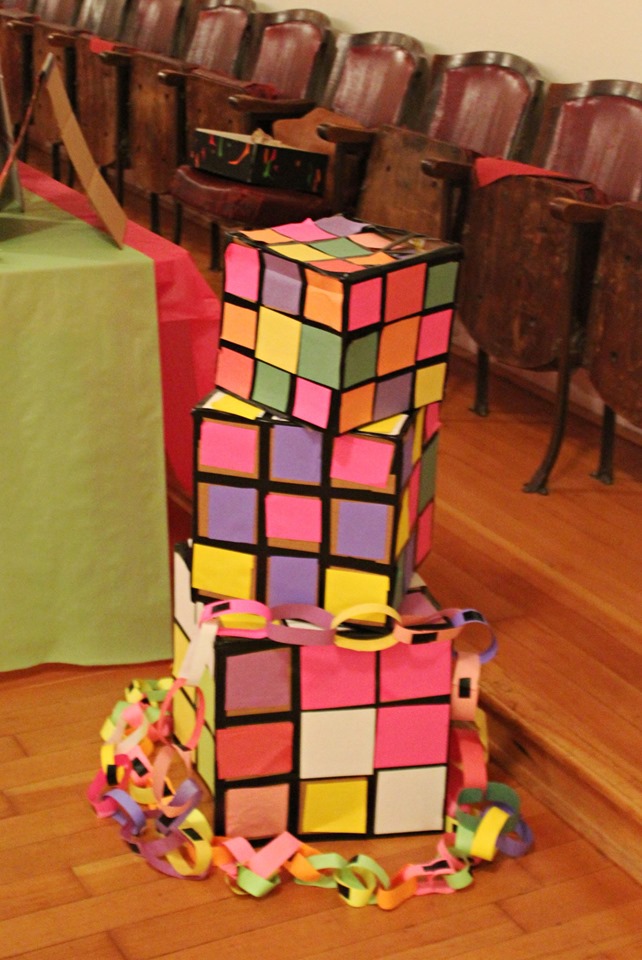
After creating the box and adding the tape, I then cut squares from neon paper and glued them to each side with a glue stick; 9 on each side. At first, I was doing this on all sides. I soon realized though that since I’d be stacking them together I didn’t need the squares on the bottom of the Rubik cubes.
I made cubes that were 4″, 6″, 8″, 12″, and a couple that was even 20″ squares. It takes a bit of time to make each of them, but I was really happy with the outcome! They had a great effect they had on the perfect 80’s party!
Stay tuned: up next, a peek into our 1980’s party planning timeline!

